English Corner
How to make a nice card without pain ! :)

Do you feel like joining a card to a birthday present ? Another special occasion ? Why not doing it yourself ? It will make your present look more personal.
And you will at last use a bit of these wonderful products you keep in your drawers and never touch ;)
you will need :
- acrylic paints : white + some other colors of your choice
- a sheet of paper (thick enough to be moistered)
- masking tape
- stencils
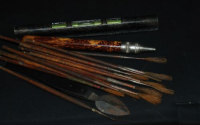
- a few brushes and a foam roller if you have one.
- stamps (optional) (you can do them youself by carving a block of polystyrène with an empty pen)
- a baby wipe or a piece of moistered cloth or tissue.
- a sponge.
- a water spray bottle
Ready, steady... go !
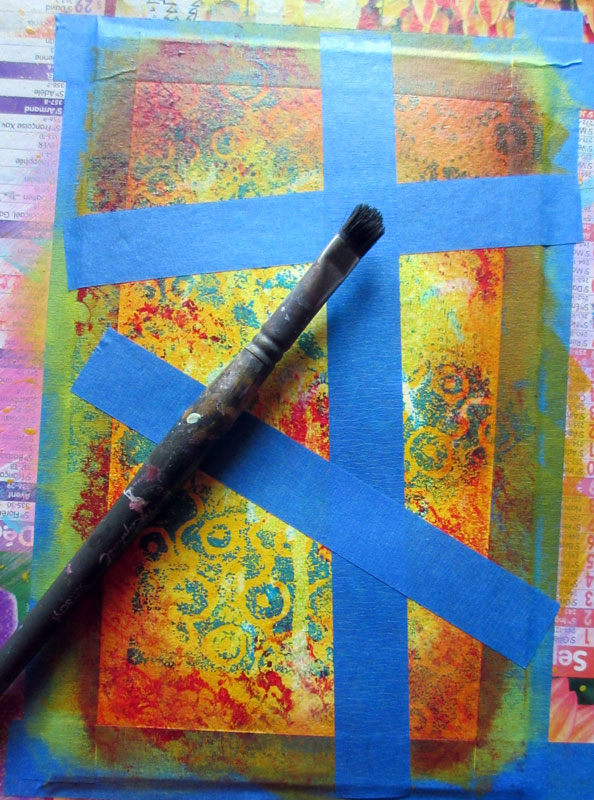
Fold your sheet of paper in two and spread a layer of white paint on the side you will paint.Leave it to dry completely.Then on a sturdy board (an old calendar here) mask the sides of your card with the masking tape, like this :
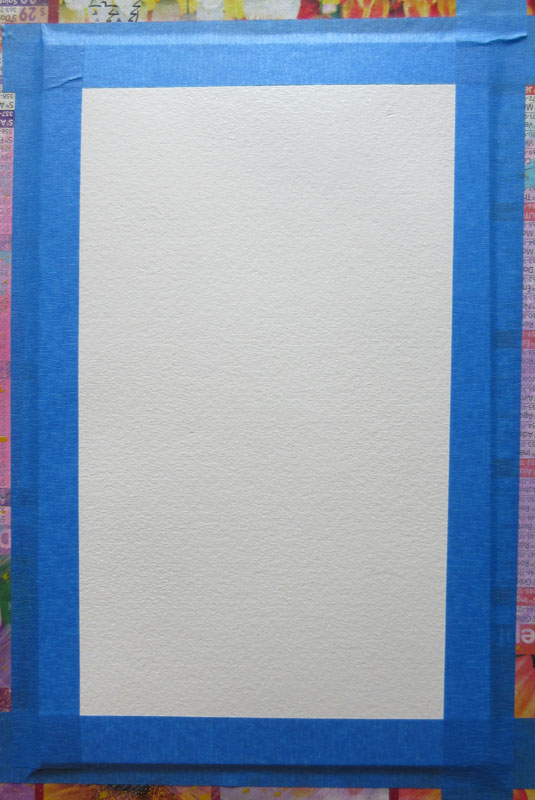
The margin will remain white in the end. Try to stick the tape carefully so that your margins have all the same size (and if you look closely, I did not take the time to do this properly!)
Then paint the sheet with a color of your choice (here a light cadmium yellow).
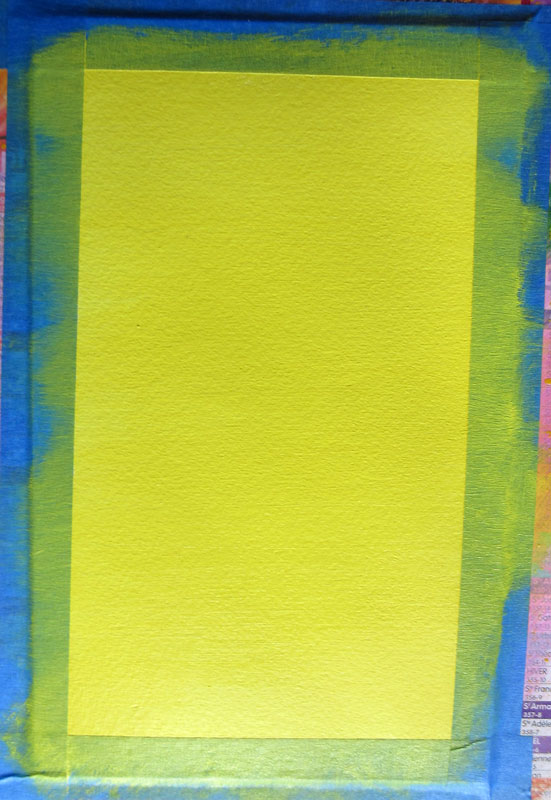
Leave it to dry.
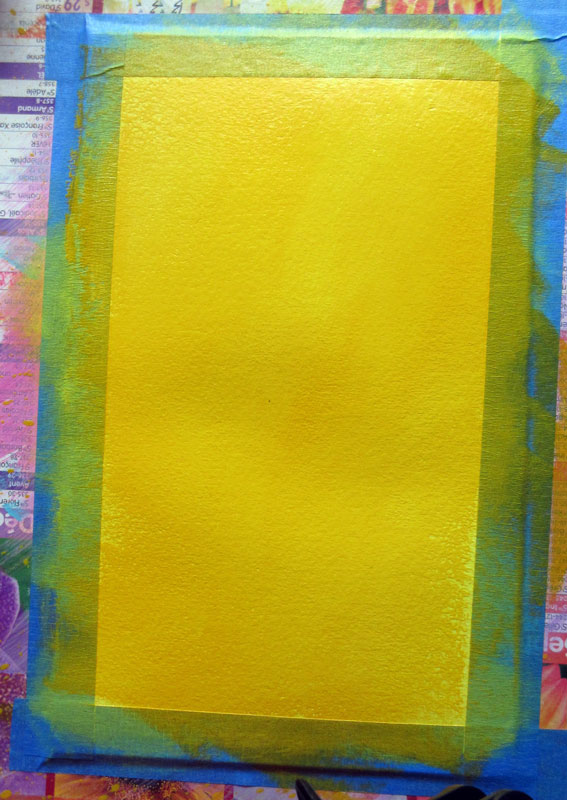
Then with another color (here, I used a dark cadmium yellow) spread a quite diluted layer all over your sheet.
Take care because here, we will have to work quickly before this layer dries as we are going to use a stencil to remove paint.
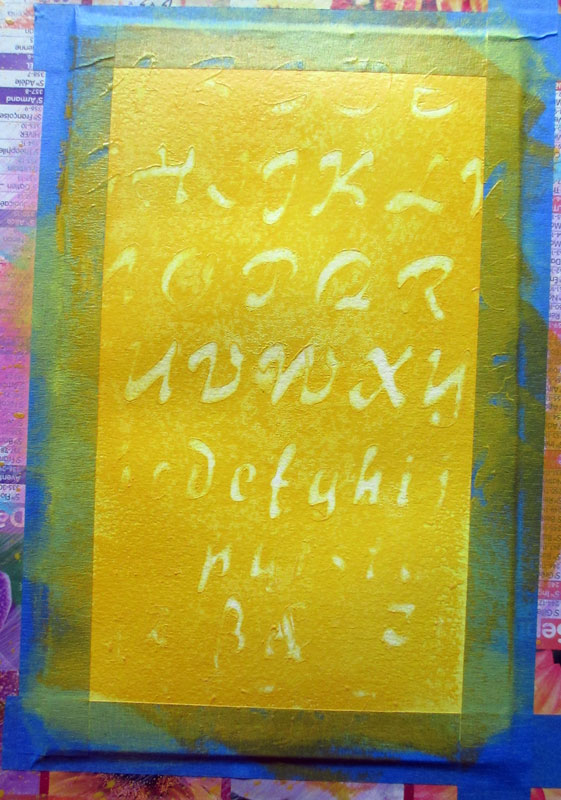
So : my dark cadmium yellow layer :
and my stencil on top :

If your stencil is too small to cover the whole sheet, don't worry, you'll move it as you proceed, we want to be a bit messy.
With a baby wipe or a lightly damp cloth or tissue we are going to wipe the surface of the stencil : this will lift the wet paint off. In my exemple, yellow on yellow, it does't show much but it can be spectacular with contrasted paints and I just adore this technique !
Leave it to dry.
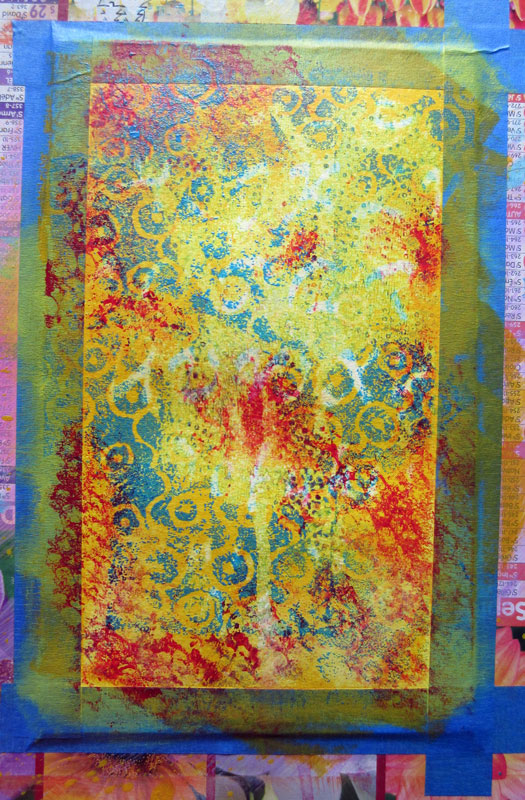
Let's go to the third layer . I used a home made stamp engraved on a block of polystyrene (food package) with an empty pen.You could also use a piece of foam engraved in the same manner. Another option could be to use a corrugated piece of cardboard... whatever you can stamp really.
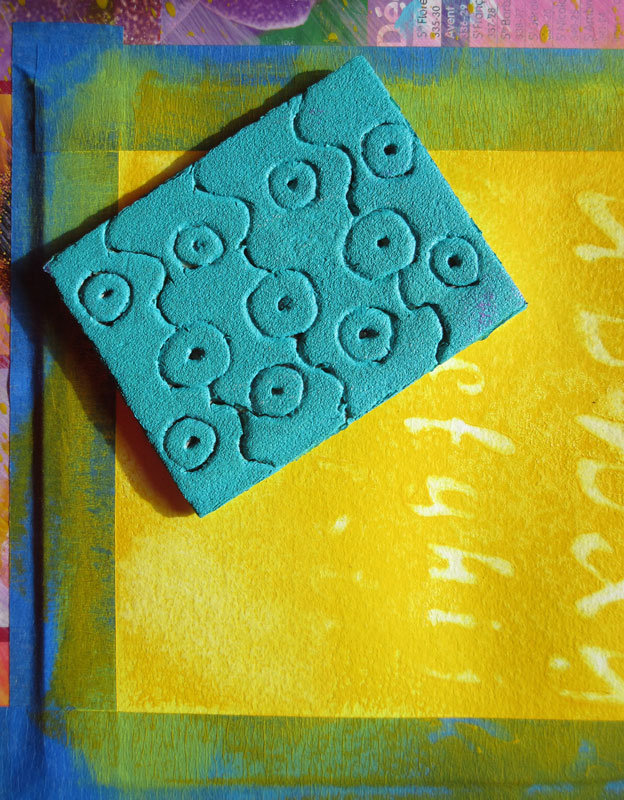
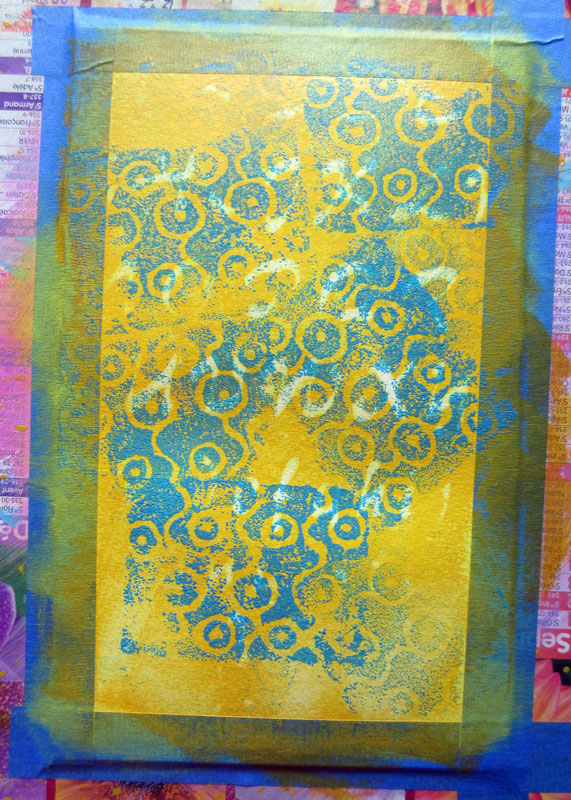
I put some blue paint on my stamp, if you have a foam roller it is very convenient, otherwise just use a brush and don't put too much paint, just a thin layer.Now, let's press it randomly across the page.
Now, I'm going to use a simple sponge.
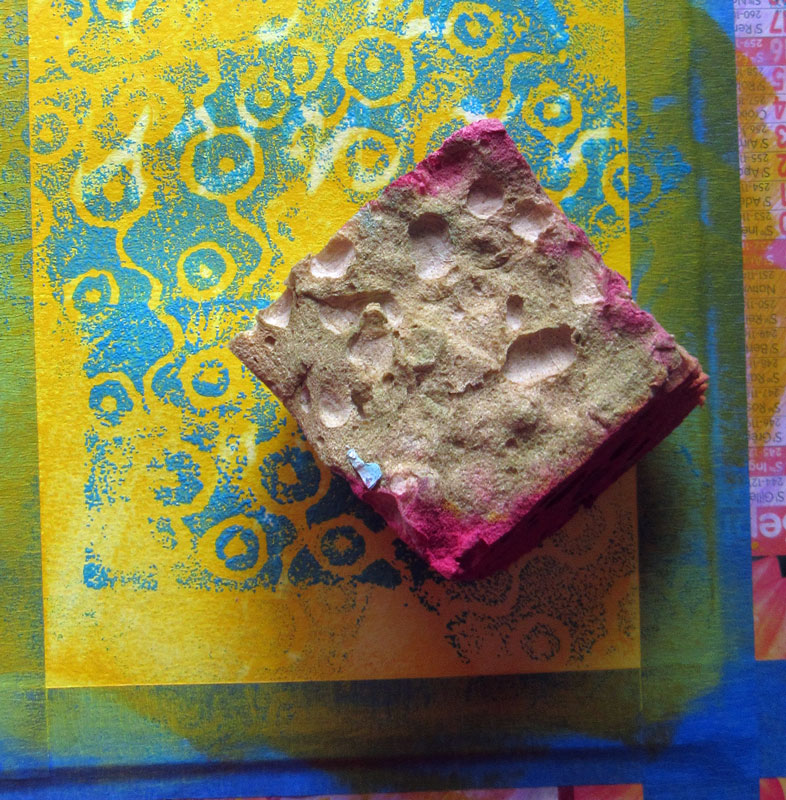
I'll use red for this layer : I take some paint with my (very lightly moistered) sponge and I dab it on a scrap paper to remove some paint.I then dab it across my card, without covering the yellow and blue entirely.
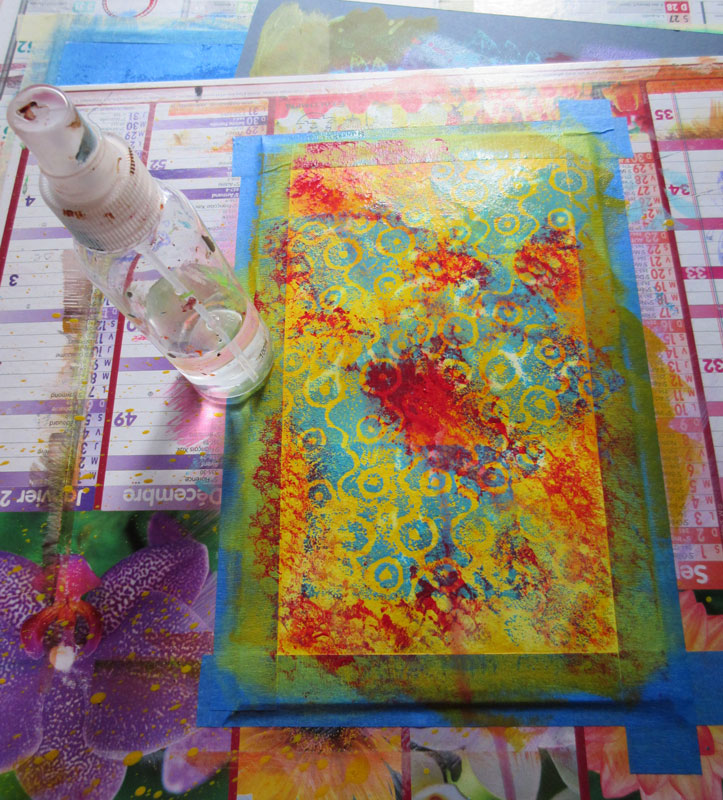
This step is optionnal : I think there is to much red in the middle of my card, so without waiting for the red to dry I spray some water on the top of my sheet, tilt it a bit until the water drip down then put it flat again and wait for 2 minutes.
Then I lay some tissue on the picture.
Remember we want to be messy !
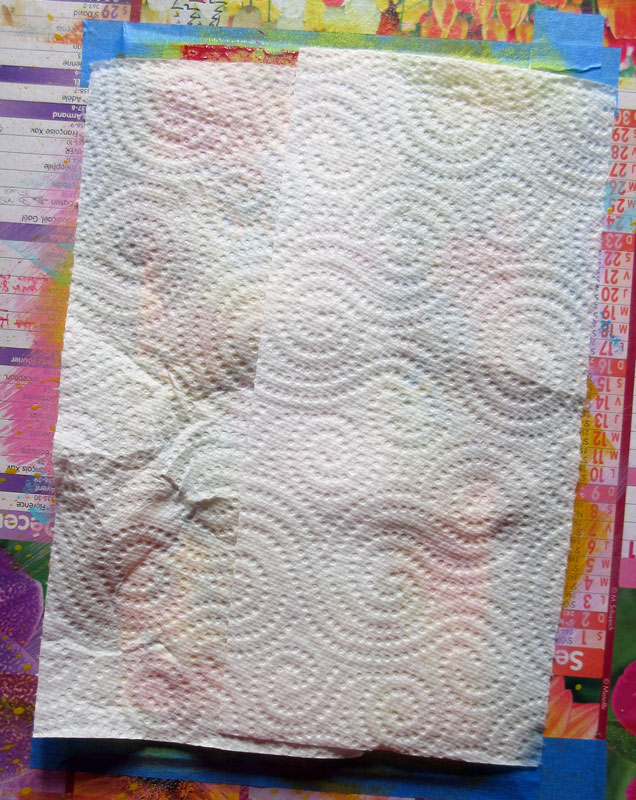
I press with my hand and remove it.
Now my red is OK.
Leave this new layer to dry completely.(You can use a hair dryer to speed up the process.
When dry, we are going to the next step I call « the glaze step ». I just adore this one, it gives depth to the painting.
We will need a darker paint here : I used Burnt Sienna.
I used a very round brush , another kind of brush can do the trick, it has to be a bit « soft » though.
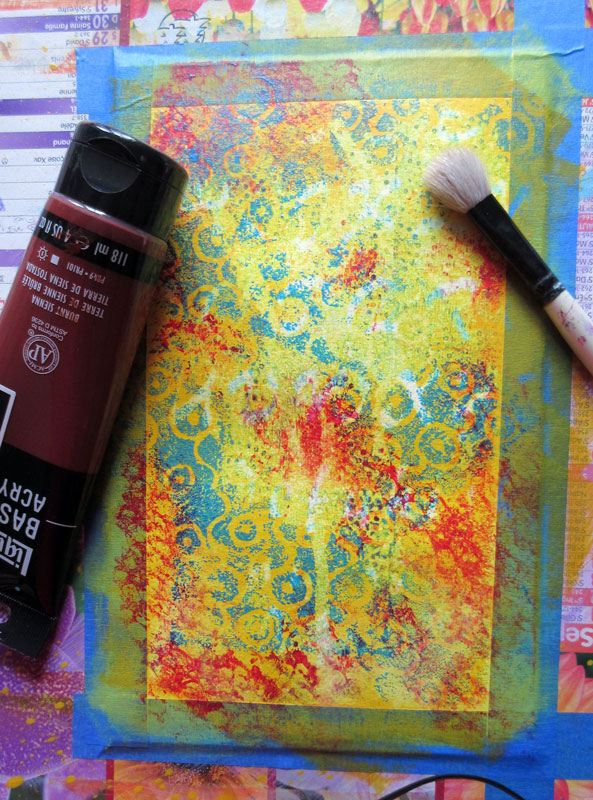
Put a small amount of paint in one corner of your card. When I say a small amount, it is really small, like this :

I spray this blob of paint, with very little water, very little ! A mist of water.
With the round bruh spread the paint along the corners and sides of the card.
What we want here is a glaze without a clear demarcation.
Here you can see the result. I repeated the same thing on the 4 corners and sides, but the center of the painting remains light.

Leave it to dry again.
If you think that the result is not obvious enough, you can repeat this step several times, leaving it to dry between each layer.
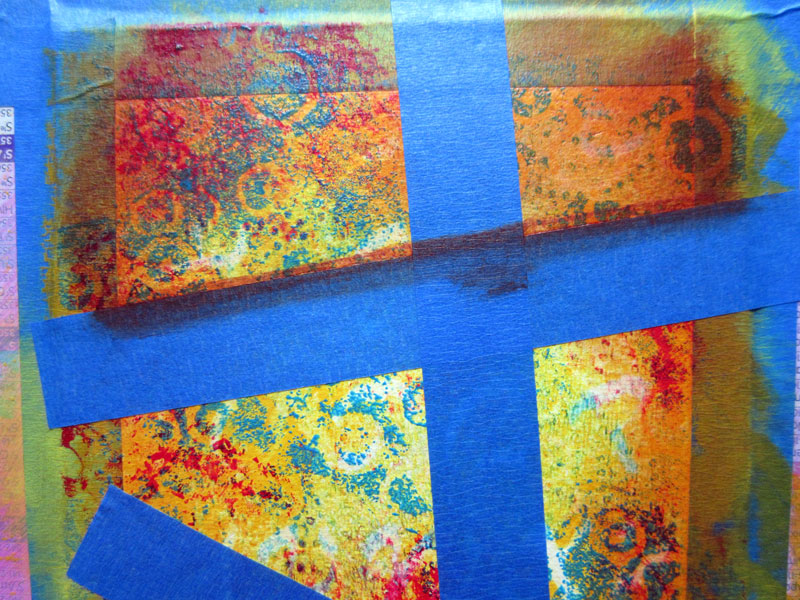
Then let's mask our sheet with masking tape, trying to arrange it irregularly.
It should look like this.I'll use a flat brush but another brush can do.
We are going to « dry brush » along the tapes, it means we'll use no water or very very little water if the paint is a bit thick.
I used burnt sienna .
My rendering is a tad bit too sharp, i would have prefered a more subtle look. This technique is a bit tricky.
Anyway, it is just paper so there is no big pressure, it will be fine .
So, I dry brush following the sides of the tapes, and without leaving it to dry I remove them. That's so satisfying ! It looks three dimensionnal all of a sudden.
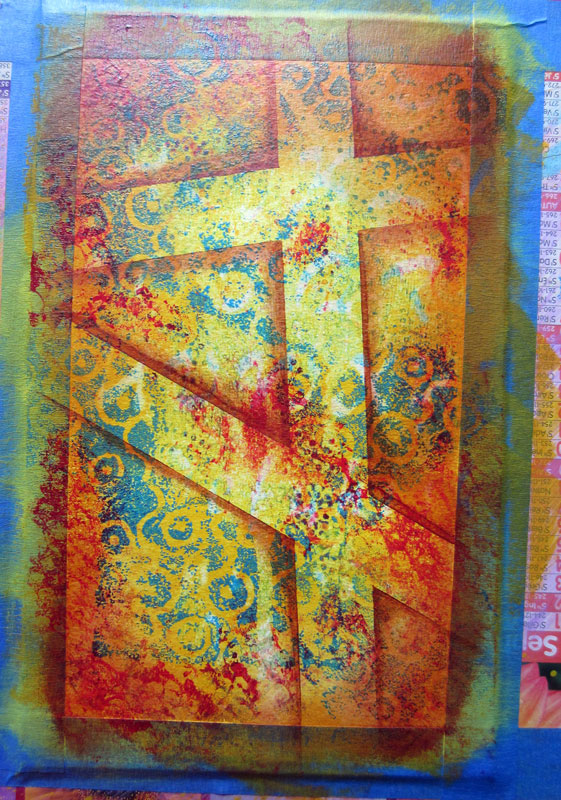
I really enjoy this moment and it is not finished because …
Let's remove the tapes around the card.
We painted the sheet with white in the first step to prevent the paper from peeling off when the tapes are removed.
Perfect ! My margin is clean and sharp.
I add some spirals with a golden marker on top of the painting.

With an acrylic marker you can draw, doodle or write on top of your painting.
You can also glue dried flowers, words, images... whatever you want, the possibilities are endless.
You can realise several little cards in different styles and you'll have them ready at hand when you need them.It is a very relaxing and creative process.
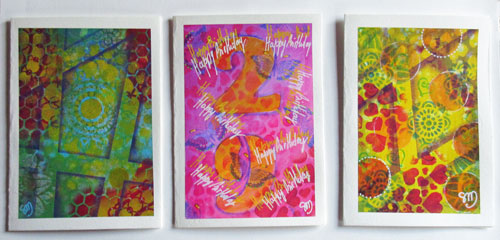
Moreover it is a good opportunity to test different techniques such as : stencilling, stamping, dripping, glazing, dry brushing, masking and these techniques can be used on a larger scale,on a canvas for exemple.
Thank you for reading this article. If you 've liked it feel free to comment and / or share.
Before you go, why not visit my new shop ? :)